Mobile push notifications are a valuable channel to connect with users and create a more meaningful app experience. For certain apps, they’re also vital to the utility of the product.
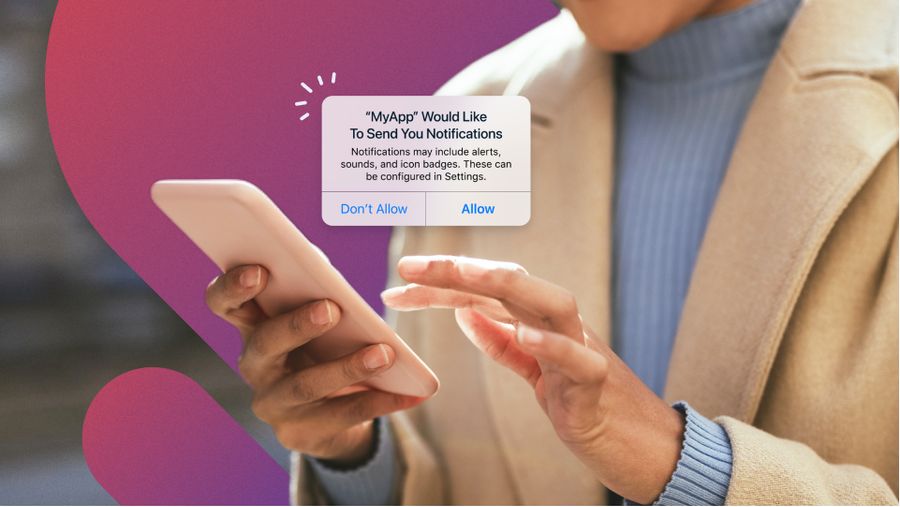
Regardless of what you’re using push for, getting users to opt-in to receive notifications on iOS devices can be challenging. Whereas android devices automatically allow push (with options to disable), iOS users must first provide consent by responding to Apple’s native permission prompt.
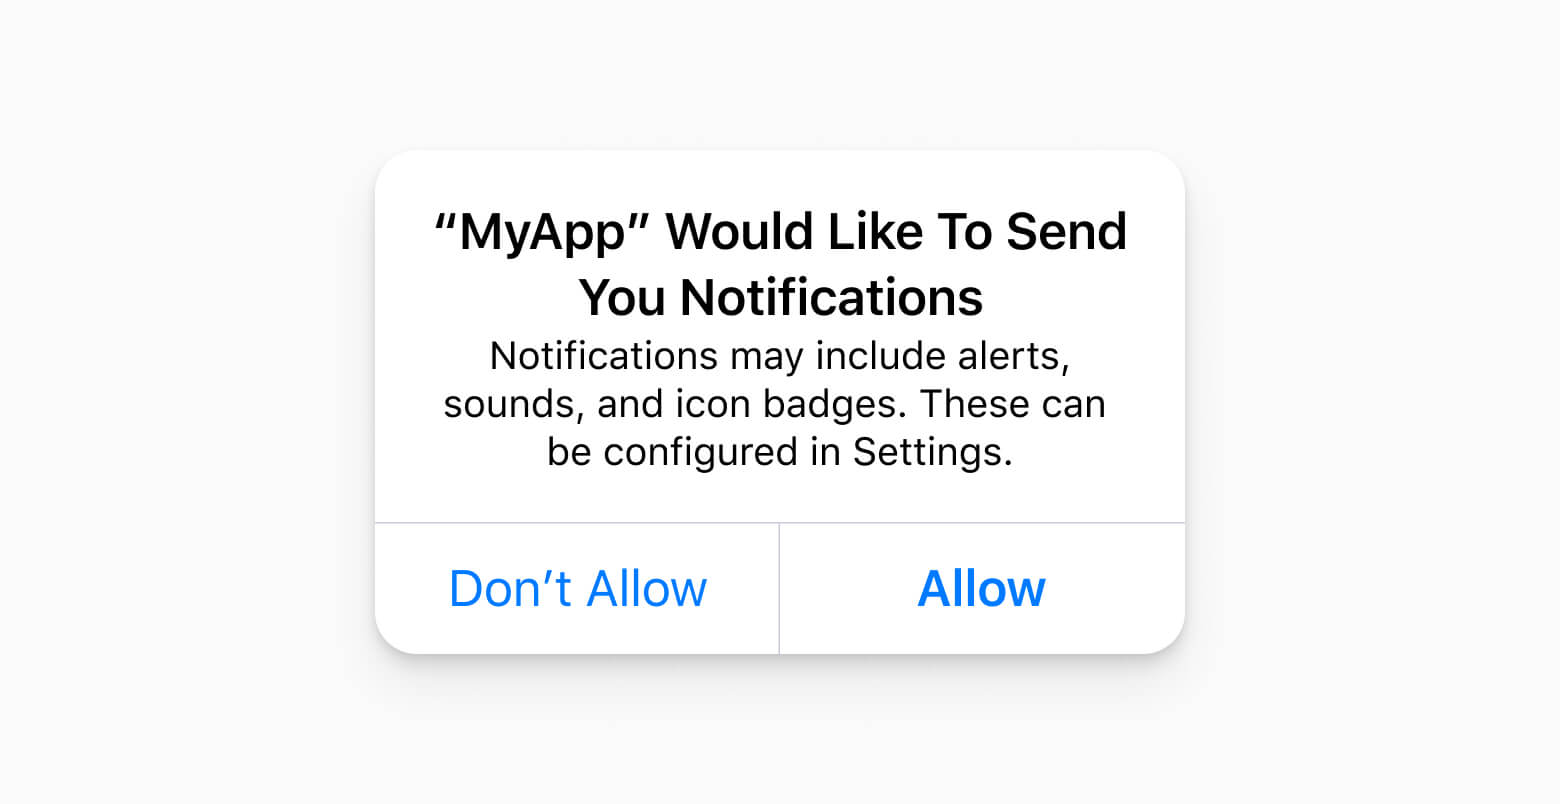
When faced with this generic prompt, a majority of users deny permission before they’ve had the opportunity to try the app and understand why push notifications might be valuable.
In fact, Apple’s permission framework is the reason why iOS up-front opt-in rates typically range between 40 and 45 percent, whereas Android initial opt-in rates are much higher. OneSignal data shows that over time, both iOS and Android platforms end up with a similar percentage of subscribed users – iOS by persuading users to opt-in, and Android by proving the value of quality notifications to discourage users from opting out.
Herein lies the catch: how do you persuade users to believe in the benefits of push when the first notification they receive is the same across every app? The answer: create a pre-permission, or "soft" prompt.
Pre-permission prompts appear before the native iOS prompt and provide users with the context they need to make an informed opt-in decision. Below, we’ve outlined five tips to boost opt-in rates, improve your user experience, and write more persuasive opt-in messages.
Be Specific
On a basic level, a pre-permission prompt performs the exact same function as the native permission prompt: it asks users for their permission to send push notifications. Although the fundamental ask is the same, the way this request is presented will influence how users respond to it.
In order to be effective, pre-permission prompts should address two important questions that are missing from the native prompt:
- What types of notifications do you want to send?
- Why should users give permission?
Providing more information about what your request entails and why users should comply will help you earn their trust and consideration.
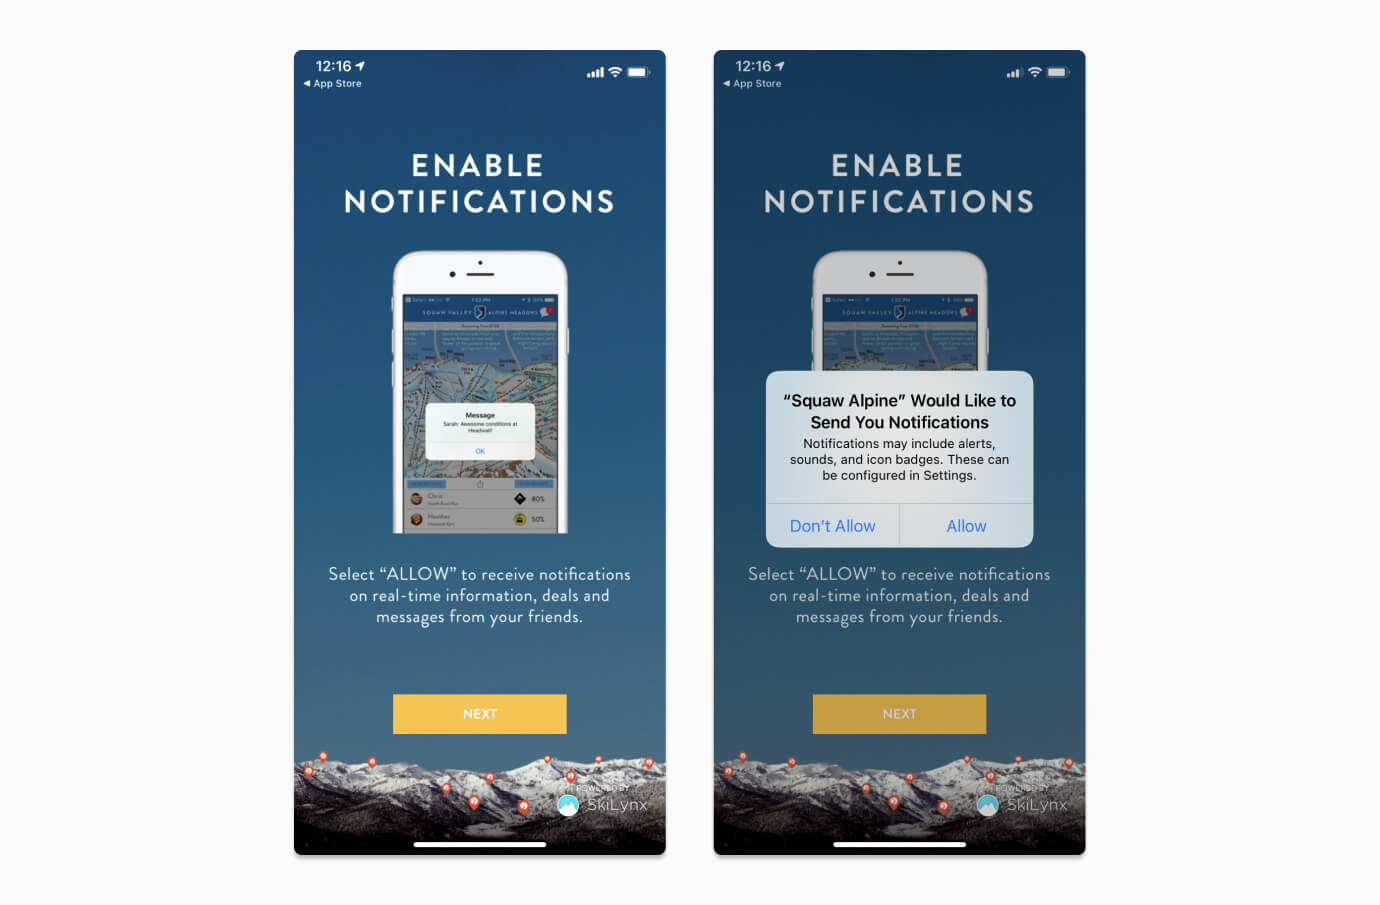
Using a pre-permission prompt creates a two-step opt-in process, so it’s also important to be specific about what actions you'd like users to take. In addition to providing essential context, the Squaw Valley Resort app primes users to accept the native permission prompt by introducing the iOS call-to-action (CTA) language (ALLOW) and using a verb (select) to clarify what action should be taken to enable notifications.
Communicate Value
Before you begin writing, remember that the reasons why so many users reject the native permission prompt is twofold. First, it’s counterintuitive to say yes to a request that you don’t understand. But decisions are also closely tied to perceptions of risk and reward. Most users deny push permission because they fear that accepting will result in spam. In addition to being disruptive, receiving irrelevant and incessant messages can undermine the human desire for courtesy, privacy, and respect.
In order to convince users to opt in, you need to reduce the perceived risks and highlight the rewards. Being specific about what notifications you will send and the context in which you’ll send them sets clear expectations for the relationship. Communicating rewards has more to do with the language you use and the details you share.
For example, consider these two opt-in messages for a weather app:
Option 1: Enable push notifications to receive weather updates and related local content.
Option 2: Enable push notifications to receive real-time storm alerts for your area and helpful tips to prepare.
Both messages answer the question of what type of notifications the company would like to send. However, the second option is more compelling because it provides meaningful details and connects those details to a value proposition — push notifications will help you stay informed, prepared, and safe.
Streamline the Permission Process
Although the benefits of a two-step iOS opt-in process are profound, any time you make a process more complex you create more potential for friction. For instance, a user could accept the pre-permission prompt, but not realize that they also need to accept the native prompt — or not recognize the native prompt as part of the same request. In order to make a two-step opt-in process easy to follow and understand, it’s important that both permission prompts appear in the correct sequence, without a delay in between.
To do this, set up your message CTA to serve as a trigger to display the native permission prompt. If your pre-permission only has one CTA (Such as the Next CTA used in the Squaw Valley Resort example), this button should automatically trigger the native permission prompt to appear. If your pre-permission prompt provides two CTA options (ex: allow and not right now), selecting the affirmative option should trigger the native permission prompt.
Perfect Your Timing
In addition to creating a more seamless experience, pre-permission prompts can also be used to delay the opt-in request for a later point in time. Apple will only display the native permission prompt once, so it’s important to make it count. In this vein, pre-permission prompts can be used to test the waters to see if a user is likely to accept.
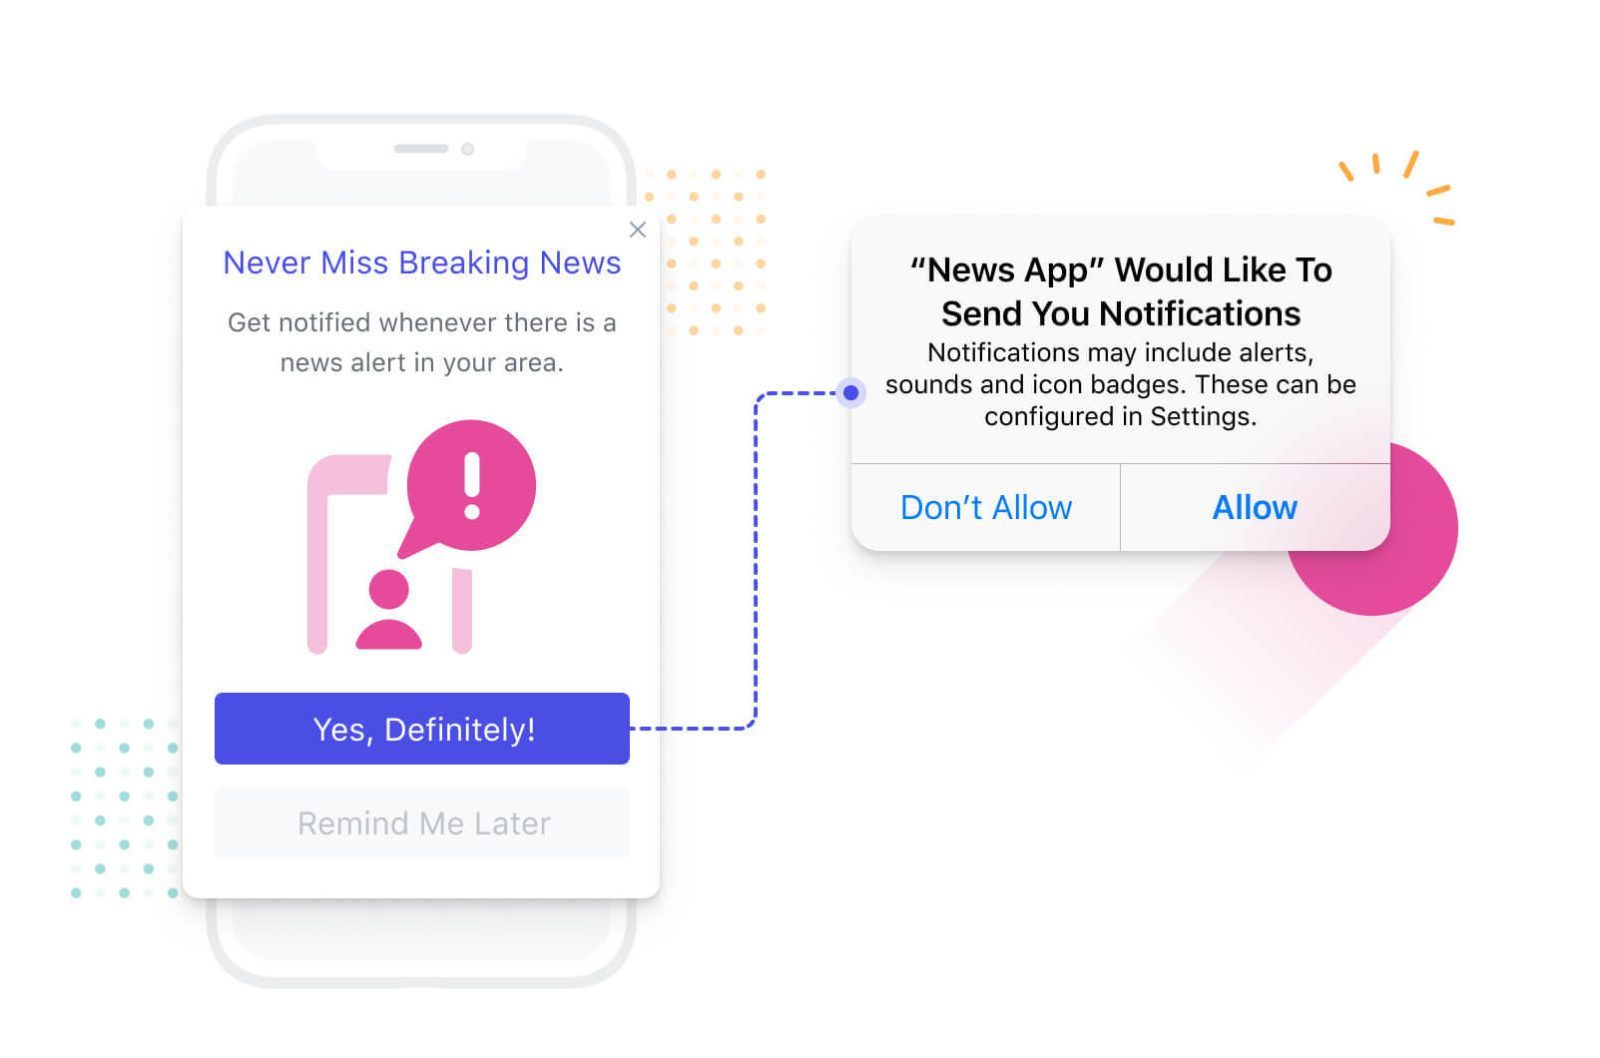
Rather than presenting an opt-out decision early on in the user journey, many pre-permission prompts provide an option to allow notifications and an option to revisit the decision down the road. By using CTA text such as Not Now or Remind Me Later, you can delay the native permission request until a user has become better acquainted with the app.
Of course, the option to delay the permission request is only effective if push notifications aren’t vital to your app’s functionality. For instance, in the mobile game Words With Friends, push notifications are an integral part of gameplay because they tell you when it’s your turn to make a move. To delay this opt-in permission would hinder the overall app experience and cause churn. In contrast, notifications such as order delivery updates enhance the user experience by making key information more visible, but they aren’t integral to the app’s functionality.
If you do choose to delay the opt-in decision, track journey milestones and use behavioral triggers to identify the most opportune time to make the request. For example, a sports media app that would like to send users game updates for their favorite teams may wait to ask for push permission until a user meets specific engagement criteria.
Those criteria might be:
- They have set up their account.
- They have followed at least one team.
- They have clicked into the game updates menu at least three times in a 24-hour period.
Together, these behavioral cues signify that a user is committed to a specific team and that they value real-time game updates. With this app experience as context, they’re more likely to understand the value that push can provide (i.e. staying informed about their favorite team with less clicks). By setting specific triggers and automating the permission process using in-app messages, you can personalize the timing of your permission request for each user.
Provide Concrete Examples
Unlike the iOS permission prompt, custom pre-permission prompts can leverage a variety of design elements to catch the user's attention and help communicate value. Including an image of a notification users might receive in your pre-permission request can help demonstrate the value you wish to provide and build trust.
Apple will also allow you to send Provisional Notifications on a trial basis so that users can evaluate whether or not they’d like to opt in to push. Provisional Notifications are always delivered quietly (i.e. silently) and are accompanied by a CTA option to turn off notifications, allow silent notifications (a form of partial permission), or allow prominent notifications (full permission). Using provisional notifications can be a meaningful opportunity to earn users’ trust, but the additional permission options, quiet delivery, and front-and-center CTA also raise the stakes for your first message. With these elevated stakes in mind, this trial notification loophole is best suited to function-critical notifications and universally helpful transactional notifications.
Create a Successful iOS Permission Prompt
With the right messaging provider, creating a permission prompt should be a quick win project that drives lasting results. Our in-app messaging product provides a ready-made framework to request notification permission and includes free design templates to get started.
Check out the guide below for step-by-step instructions for building an iOS permission prompt in your OneSignal dashboard.
View Guide: How to Create a Pre-Permission Prompt