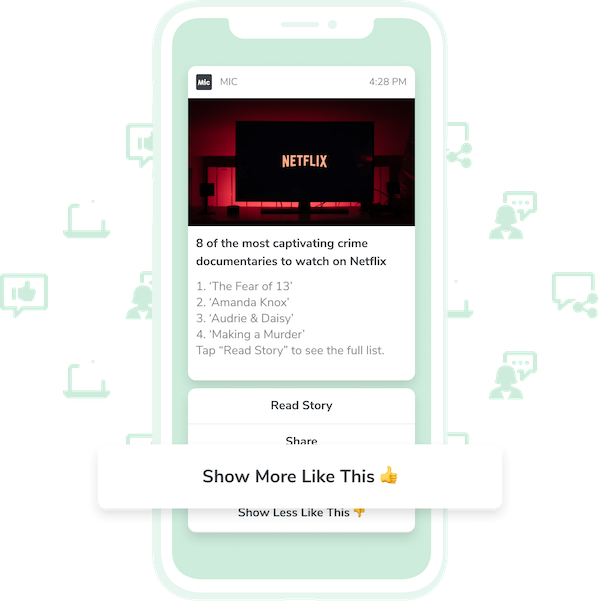
When someone typically receives a notification, there's only a single action available - tapping on the notification. Don't make your users suffer from boring push notifications! Give them additional options and watch as your messages become more interactive and engaging.
Adding action buttons can help increase the time your users spend on your site or within your app. Whether you add them to promote or inform, action buttons can increase clicks if executed correctly. In this post, we’ll cover how to set up custom action buttons using the OneSignal platform.
How do action buttons work?
When users are given options with a notification, their actions carry a lot more weight. You are now able to gain more insight into your users' behavior when you send them a notification. It also creates opportunities for more interactions with your app.
Before you add action buttons, you need to check whether the operating systems your customers use can support them.
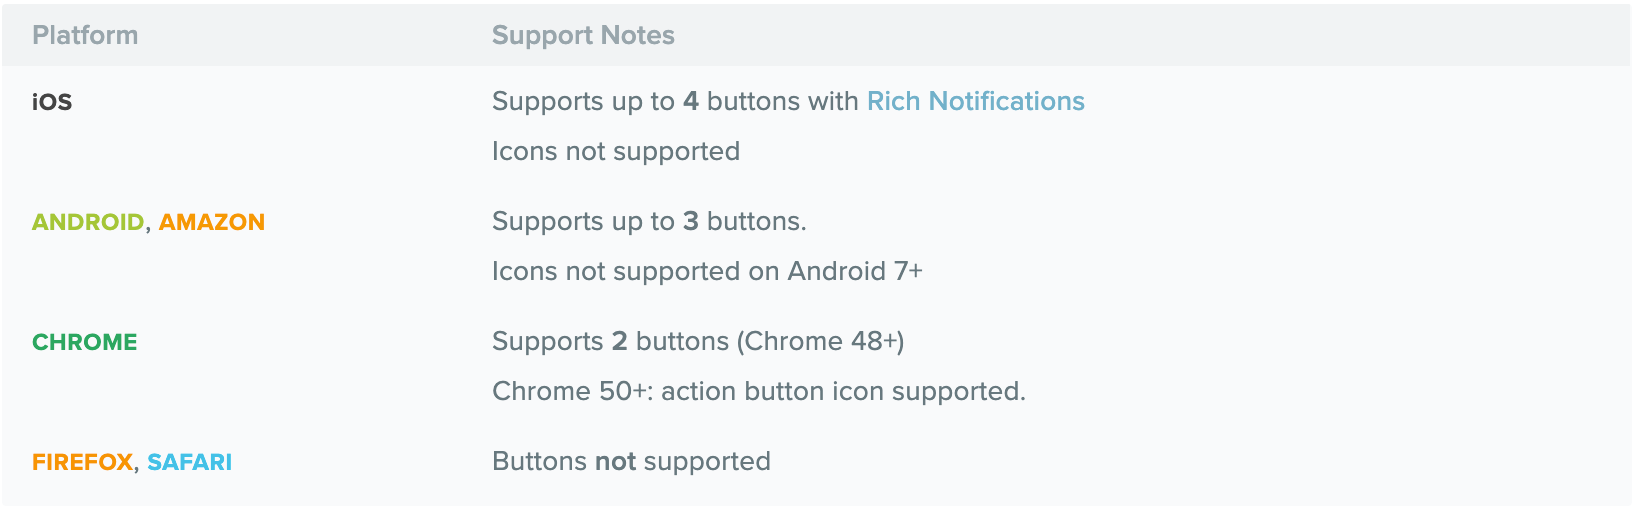
Mobile Push Notifications:
- iOS has the most support with up to 4 buttons with rich notifications.
- Android is close behind with up to 3 buttons.
Web Push Notifications:
- Chrome can support up to 2 action buttons in each notification.
- Firefox and Safari do not support action buttons.
How to Add Action Buttons Using OneSignal
Once you’ve decided to add action buttons, OneSignal's platform offers three options:
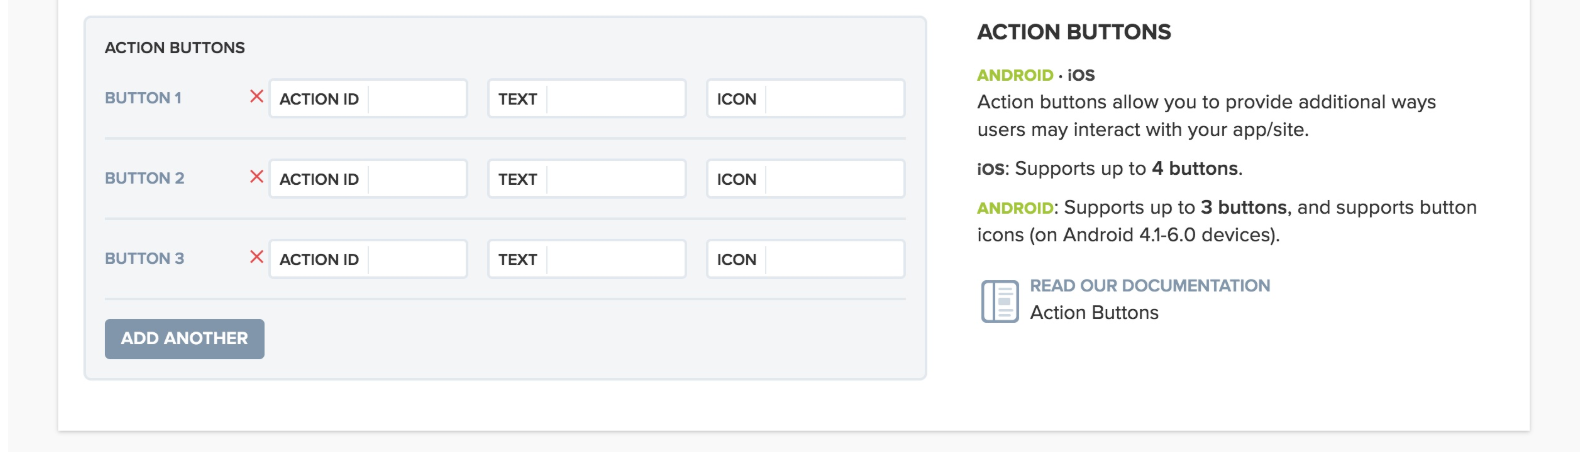
Going through the OneSignal dashboard is the simplest way to add action buttons. All you need to do is go to "New Message", select "Options", and add custom action buttons in the dashboard interface specific to which platform (mobile vs web) you are sending the notifications to. Each button will have its own identifier, call-to-action text, and if supported, an icon.
Action buttons with web push notifications will need to redirect to a URL that the user will go to once they click.
Adding action buttons with the Rest API involves a bit more work. for iOS, Android and Amazon you'll need to add the button id to the additionalData variable in the notification opened callback. More information on setting up action buttons with the REST API can be found here.
Action buttons with the SDK are also a bit tricky. First you'll have to check the SDK Reference page for whichever SDK you're using to build your app. The button id is then added to the additionalData variable in the notification opened callback. Find out more on how to set up action buttons with your SDK here.