Today, users expect companies to provide a seamless cross-channel experience. Email can help you deliver on those expectations and connect with users outside the bounds of your web application. In addition to being well-suited to both transactional and marketing messages, email is an established and trusted communication channel.
Automating your email campaigns based on real-time engagement behavior and user preferences will help you deliver a personalized experience at scale. With OneSignal and SendGrid, it’s easy to send emails based on specific engagement triggers and criteria.
Our segmentation tool also makes it easy to target specific subscribers and personalize your campaigns to resonate with each audience. For example, you may want to send a welcome message to new users, or share personalized promotions or updates with disengaged users to encourage them to come back.
In this guide, we’ll show you how to integrate OneSignal with SendGrid to build email campaigns that are directly linked to your web app — for free!
Guide Overview
- Step 1: Set Up Your OneSignal Account
- Web Configuration
- Step 2: Set Up Email Using OneSignal & SendGrid
- Step 3: Send User Email Addresses to OneSignal
- Option A: Use a Web Prompt to Capture Email Addresses
- Option B: Use the setEmail Method from the OneSignal SDK
- Step 4: Send Your First Email
- Debugging SendGrid
- Quick Recap & Additional Support
Step 1: Set Up Your OneSignal Account
- If you haven't done so already, create a free OneSignal account or simply login to your account.
- Once you’ve logged in, set up your account by inputting the name of your app or website.
- Select Web Push as your platform.
- Then, click on the blue button Next: Configure Your Platform.
Web Configuration
- In the first setup step, select Typical Site.
- Under the section entitled 2. Site Setup, enter your web configuration. For our example, the config will look like the one in the picture below. Notice for testing purposes, we entered our localhost URL. If you are doing the same, make sure you click on the option LOCAL TESTING. This will ensure to treat HTTP localhost as HTTPS for testing.
- Finally, scroll down to the bottom of the page and click Save.
- You will be redirected to a different page with a super important step: click DOWNLOAD ONESIGNAL SDK FILES and save them to your computer.
- Under the section titled Add Code to Site, you will see a grey button that allows you to copy the code snippet. Click on this button to copy the code and paste it into code into your index.html.
- Click on the Finish button.
Step 2: Set Up Email Using OneSignal & SendGrid
OneSignal and SendGrid have an integration that allows you to power your email campaign from your OneSignal app using SendGrid. SendGrid is a trusted email delivery platform and cloud-based solution that helps users send transactional and marketing emails to thousands of customers.
Follow the steps in this guide to integrate your SendGrid account with OneSignal.
Step 3: Send User Email Addresses to OneSignal
There are two setup options you can use to send user email addresses to OneSignal:
- Option A: You can use our ready-made web prompts to request and capture user email addresses — no coding necessary!
- Option B: You can use the
setEmailmethod from our SDK for more custom implementation options.
Option A: Use a Web Prompt to Capture Email Addresses
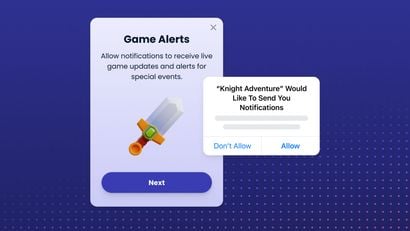
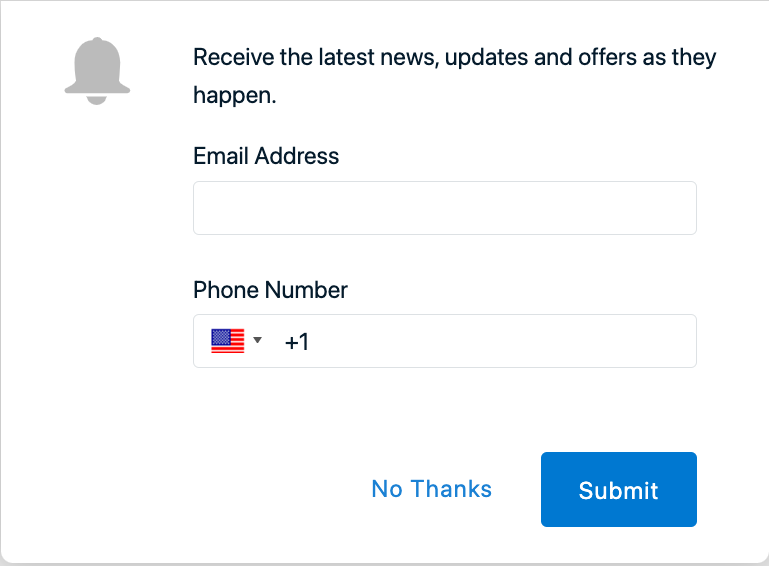
You can easily request user email addresses and phone numbers using our customizable web prompt templates. You choose the wording, button labels, and the confirmation message — OneSignal will automatically collect and synchronize user data submitted through the web prompt.
If your OneSignal account is configured for a Typical Site Setup, you can build your email web prompt in your OneSignal dashboard. If you have a Custom Code web configuration, follow the Custom Code Setup instructions.
This is a very efficient and easy implementation if you want to capture user's emails without writing any code. One interesting thing about this feature is that it allows you to trigger the prompt manually by writing code if you want to. If you would like to learn more about the email and phone number web prompts and implementation options, please visit our documentation.
Option B: Use the setEmail Method from the OneSignal SDK
OneSignal's setEmail method will allow you to automatically assign a user's email address to their user record and gives you more control over how you want to capture email addresses. For example, if a user has created an account using their email address, you may want to retrieve that information from your application rather than asking the user to respond to a web prompt. The setEmail method will give you the flexibility to execute this example and other advanced implementation scenarios across your website.
View this GitHub Web App Email Sample for the final code you will need to set up the email prompt and associated tags.
- Back in your web app, locate the index.html file — you will need to modify a bit of your JavaScript code.
- At the bottom of your
<script>tag, create a function calledsetEmail(). Inside of that function, trigger a prompt to ask the user for their email address. - Finally, inside of that function, use the
setEmail()method of the OneSignal SDK to assign the email address you entered in the prompt to the current app user.
If you look closely at our example code below, you will notice that we are also using the OneSignal.sendTag() method to automatically apply the user_name data tag to this record.
Data tags are a key:value pair of string or integer data that you can add to your app code to identify a specific user event or value. They can be used to build audience segments based on real-time user behavior and preferences, personalize message content, as well as to enrich your internal data system, and provide more advanced analytical insight.
For our example, we are adding the user_name key, but you can add whatever information you want and as many tags as you need. For example, you can create a country: USA tag to segment users by country and create messaging campaigns that are tailored to users in the United States. To learn more about how to use data tags to automate and personalize your messaging strategy, check out our data tag implementation.
function setEmail() {
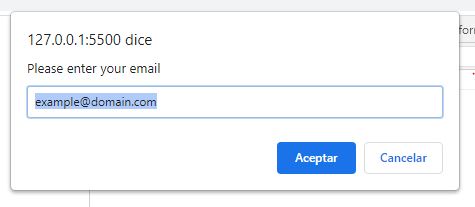
const email = prompt("Please enter your email", "example@domain.com");
if(email !== null) {
OneSignal.push(function() {
OneSignal.setEmail(email).then(function(emailId) {
// Callback called when email have finished sending
console.log("emailId: ", emailId);
/*Creating a user_name identifier tag to be used in the email
Example: OneSignal.sendTag("user_name", "devpato");
*/
OneSignal.sendTag("user_name", "a_user_name");
});
});
}
}- Inside of your
<body>tag, create a button that calls thesetEmail()function.
<body>
	<button onclick="setEmail()">Set Email</button>
</body>- Now run your app. After 20 seconds, you should see a prompt that will ask you if you would like to subscribe to notifications. Click Allow. Doing so will add you to the subscribed users segment.
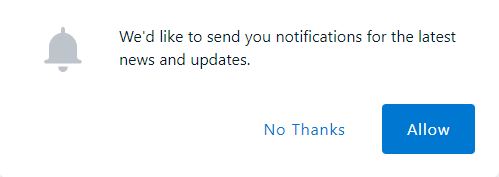
- A second prompt will appear that will ask you to allow your browser to receive notifications from your website application. Click Allow in this window as well.
- In your web application, you will see the button you created in the previous steps. Click on this button. The button will trigger a prompt that will ask you for your email address. The email entered will be sent to the OneSignal application you just set up.
If you open your browser console, you should see an emailId printed like the following:
emailId: a68d7469-1541-4f58-9d8e-cdc8529276d7
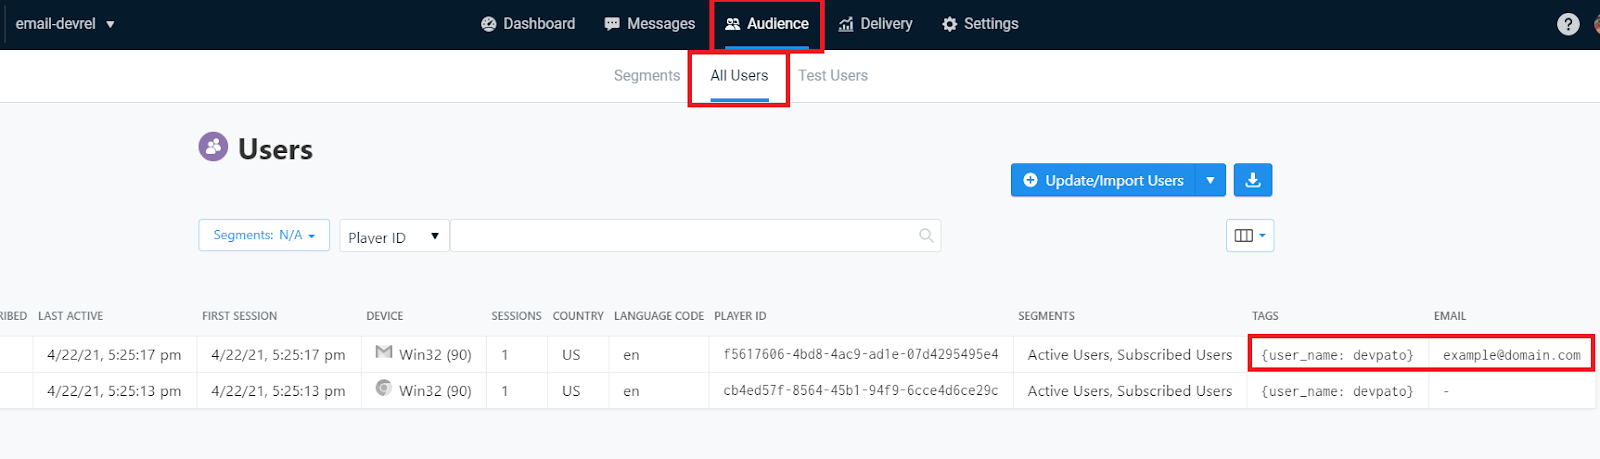
- To ensure the email and user_name tag has been correctly configured, navigate to your OneSignal dashboard, click on the Audience tab, then select All Users in the sub-navigation menu. You will see a table of all your subscribed users. In the far right of this table, look for the columns entitled TAGS and EMAIL, and make sure the values you entered are appropriately cataloged.
Congratulations! You have successfully added a user email address into your OneSignal application. As more users subscribe to receive notifications, their email addresses will appear in this list. Now that your email infrastructure is set up, you can send emails to subscribed users and begin building out automated email campaigns for specific audience segments.
Step 4: Send Your First Email
- Go back to your OneSignal dashboard and select Messages > Messages from the navigation menus.
- Locate the blue New Push button in the top right corner of your screen and click on the small white arrow to choose a different option. Select New Email from the drop-down menu that appears.

A New Email window will open where you will craft your first email message.

- Under the 1. Audience section, identify the audience segment that you'd like to receive your email. The Subscribed Users segment will be selected by default. As you add more data tags to your app and grow your subscriber base, you can build out custom audience segments rather than emailing all your subscribers at once. Because you are currently the only subscriber, it's OK to keep this default audience segment for your first test email.
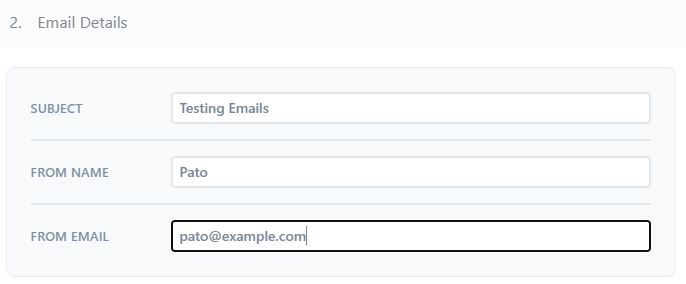
- Under the 2. Email Details section, make sure to enter a subject line, email address, and from the name. These values will be the same as the ones you entered in your SendGrid configuration.
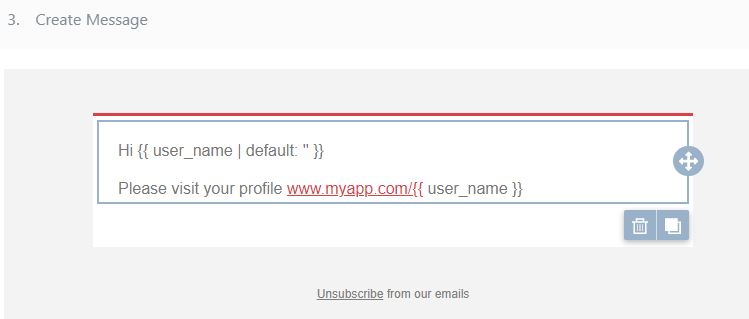
- In the 3. Create Message section, you can personalize the email template to improve the user experience.
- Make sure you are using the
user_nametag as the template variable. Below is an example of how data tags can be used to personalize message content using our tag substitution method.
- Under the 4. Schedule section select Send Immediately and then click on the button entitled Confirm Message.
- A popup will appear where you can review your message selections and the number of people that will receive this message. Make sure that it says 1 (that's you!). Then click Send Message.
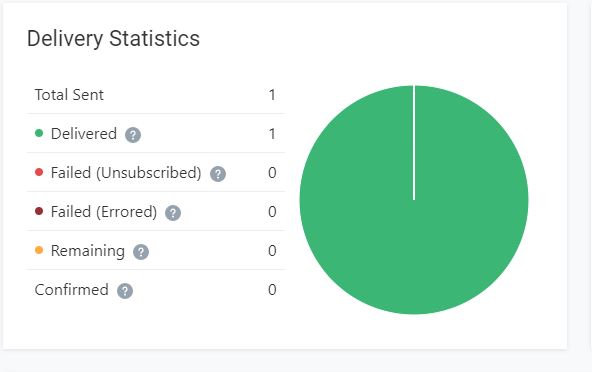
- After sending the message, you will be redirected to the Delivery Statistics page of your dashboard. If you scroll down, you will see that your message has been delivered.
Debugging SendGrid
If your OneSignal dashboard indicates that your emails have been delivered but you haven’t received them, take a look at the Activity tab inside of your SendGrid account. Select the appropriate date range and click the blue Search button to locate your email.
Quick Recap & Additional Support
OneSingal and SendGrid work together to make it easy to integrate email into your application workflows in a seamless way. You can use email for transactional notifications to improve your app UX, to share special promotions and product updates, to re-engage users that have exited your app, and much more!
If you are using emails in a creative way to improve your UX, we want to hear about it! Tag us in a Tweet @onesignal to share your amazing use cases.
The sample code in this project can be found on GitHub.
Have questions or want help getting started? Reach out to us at support@onesignal.com.
Stay Connected
want to share your feedback and test out new features before they're released? Join our developer community to take advantage of these benefits and more.
Join our Developer Community